
Dealer guide
Build a page and pick which cars show
Make a page like "Trucks on sale" with your own blocks, and choose exactly which cars it shows. About 10 minutes.
You need:WordPress admin login · a page idea (e.g. Truck Month) · a photo for the banner (1920 × 1080)
Step 1 – Start the page
- Pages › Add New. Type the page name at the top (e.g. "Trucks on sale").
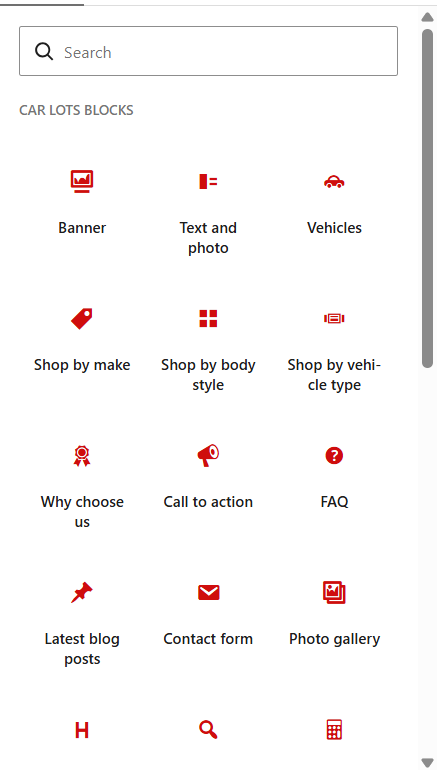
- Click + (top left) and open CAR LOTS BLOCKS.
Step 2 – Add a Banner
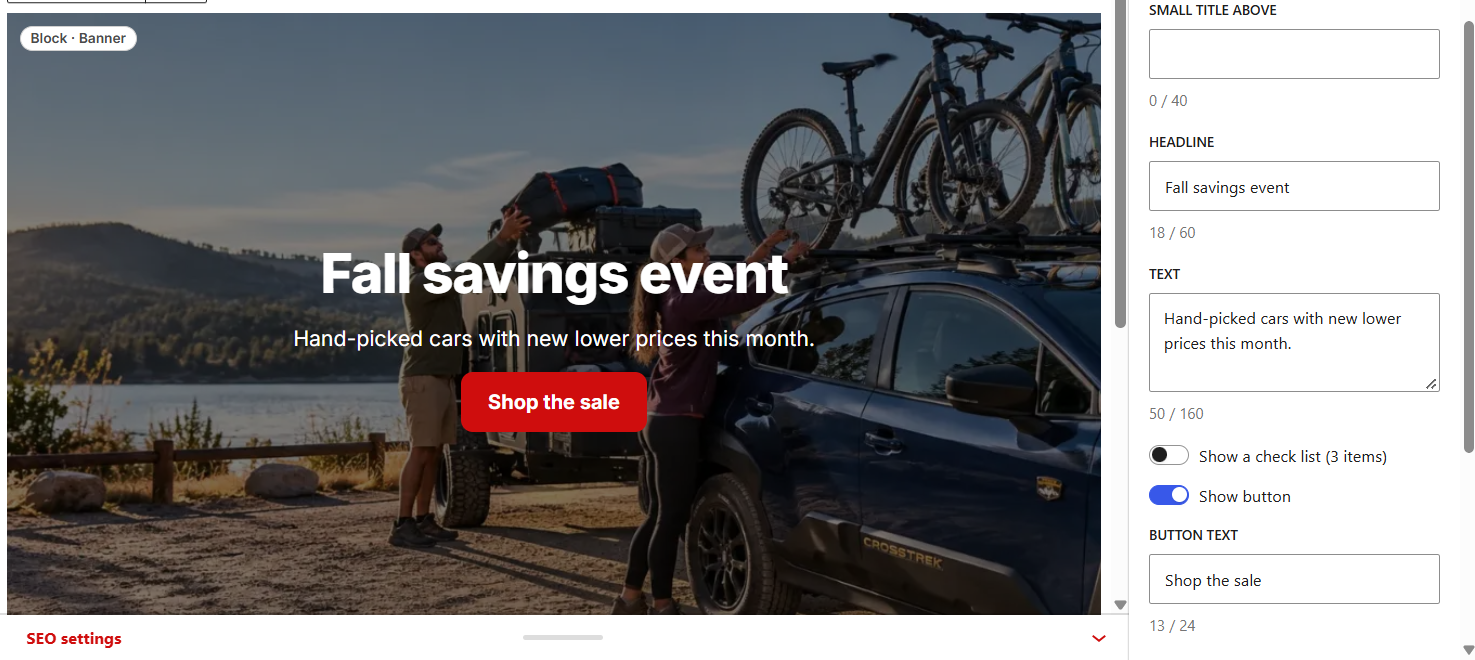
- Click Banner. Click the photo to pick your own.
- Type the headline and button text in the right panel (counters show the limit).
Step 3 – Add Vehicles and pick the cars
- Click + › Vehicles. The right panel shows the choices.
- Condition: New, Used or Certified (only what you have in stock shows).
- Make → Model → Trim: pick a make first, then a model, then a trim. Lists only show what's in stock.
- Body style (e.g. Truck), On sale only, Price under (e.g. $25,000).
- How many: 4, 8, 12 or 16 cars, and the sort (newest, price low–high…).
- Title (e.g. "Trucks on sale") and link text ("See all trucks").
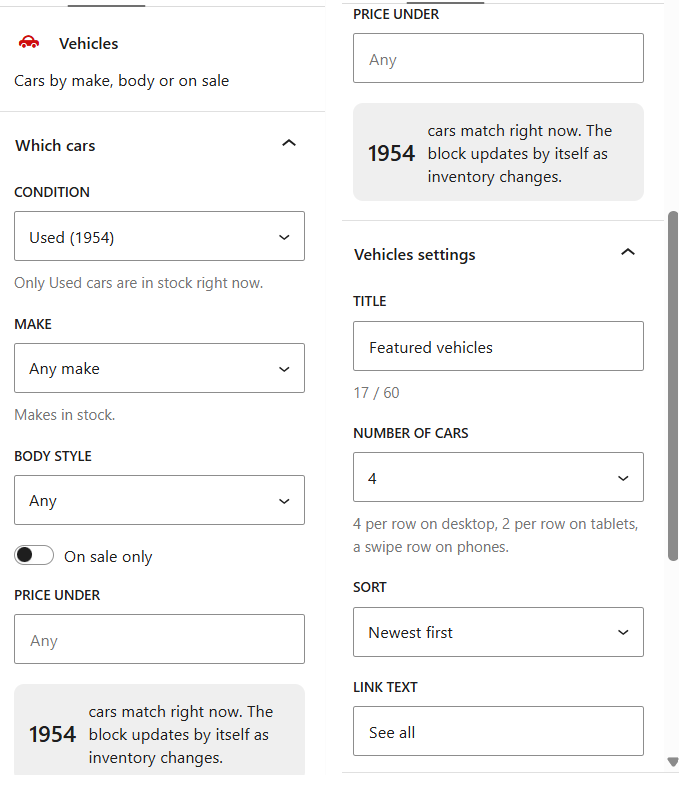
Check it: the gray box says "N cars match right now". 0 cars? Loosen a choice. On your website the block hides itself when nothing matches and comes back when cars arrive. See all N opens your inventory with the same filters.
Step 4 – Add more blocks (optional)
- FAQ, Call to action, Contact form, Why choose us… Click + and pick.
- Move a block with the up/down arrows; remove with ⋮ › Delete.
Step 5 – Publish and add it to your menu
- Click Publish, then View page.
- Right panel › Page › Show a link to this page › tick Header menu or a footer column › Update. Or use the Menus guide.
Every block and what you can change: Dealer guide, section 14.